
Note: This article contains information related to the old Livescale experience, which has been deprecated, and it may no longer be applicable.
Step 1: Enter your event's Control Room
The Control Room is where the magic happens. You will manage all the components of your live event such as: set up your video feed, rehearse your run of show, log in as a community manager, start and stop the live, and check the analytics in real-time.
There are 3 sections in the Control Room:
- Analytics Tab: Here you can see real-time analytics of your event such as Viewers, Likes, Product Views, Orders, and Sales.
- Video Preview: The video preview allows you to see the video feed prior to going live and to monitor it throughout the duration of the live event.
- Moderator Panel: The moderator panel allows you to monitor the chat, display announcements, delete messages, and ban users.
Step 2: Connect a video feed from your streaming app
Before going live, you need to connect a video feed from your capture/streaming system. To do this, you need to enter 2 event-specific pieces of information in your chosen streaming app:
- Stream URL
- Stream Key
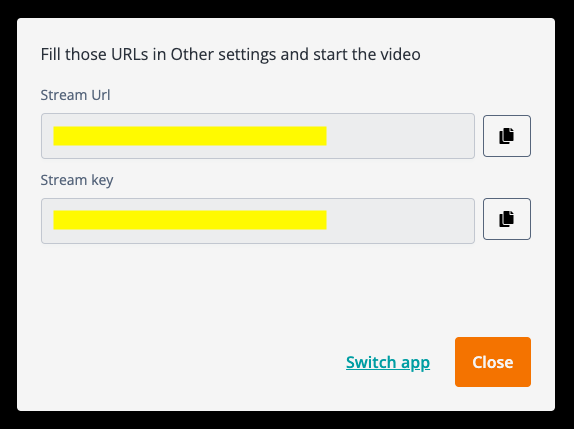
As soon as Livescale starts receiving the video feed, the platform will quickly check the video feed quality to allow you to go live. As soon as the quality check is done, you'll see the video appearing in the video window, and the "Go live" button will appear.
Step 3: Preview your event
-
Click on "Preview URL" to see your event in "Practice Mode".
-
Review your product catalog, try to add products to your cart, and try out the likes and comments features.
Step 4: Connect to the moderator chat
Simply enter a name (ideally your brand's name) and press "Login" to connect to the moderator chat. You will now be able to monitor comments in real time and interact with your audience.
Step 5: Go live!
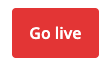
You can now decide to go live when you're ready by clicking on the "Go live" button at the bottom right corner of the Video Preview module. Once you confirm the action on the pop-up screen, Livescale will automatically open up the live shopping event experience to your audience.
Step 6: Close the event
As soon as your live event is finished, you simply need to click on "End live" and confirm the action on the pop-up screen to close access to the live shopping event. You will then be redirected to the analytics page where you can analyze all the data gathered during your event.