
Note: This article contains information related to the old Livescale experience, which has been deprecated, and it may no longer be applicable.
To create an event, log in into your account on the Livescale Console.
Step 1: Create an Event
On the left hand-side of your account homepage, click on "Create an Event". You will be given the option to create a Live or Test Event.
- Live Event: This type of event is for when you are ready to go live with your audience. You must have a subscription to create a Live Event.
- Test Event: This type of event is solely for testing purposes. Our recommendation is to create a Test Event before going live with your audience.
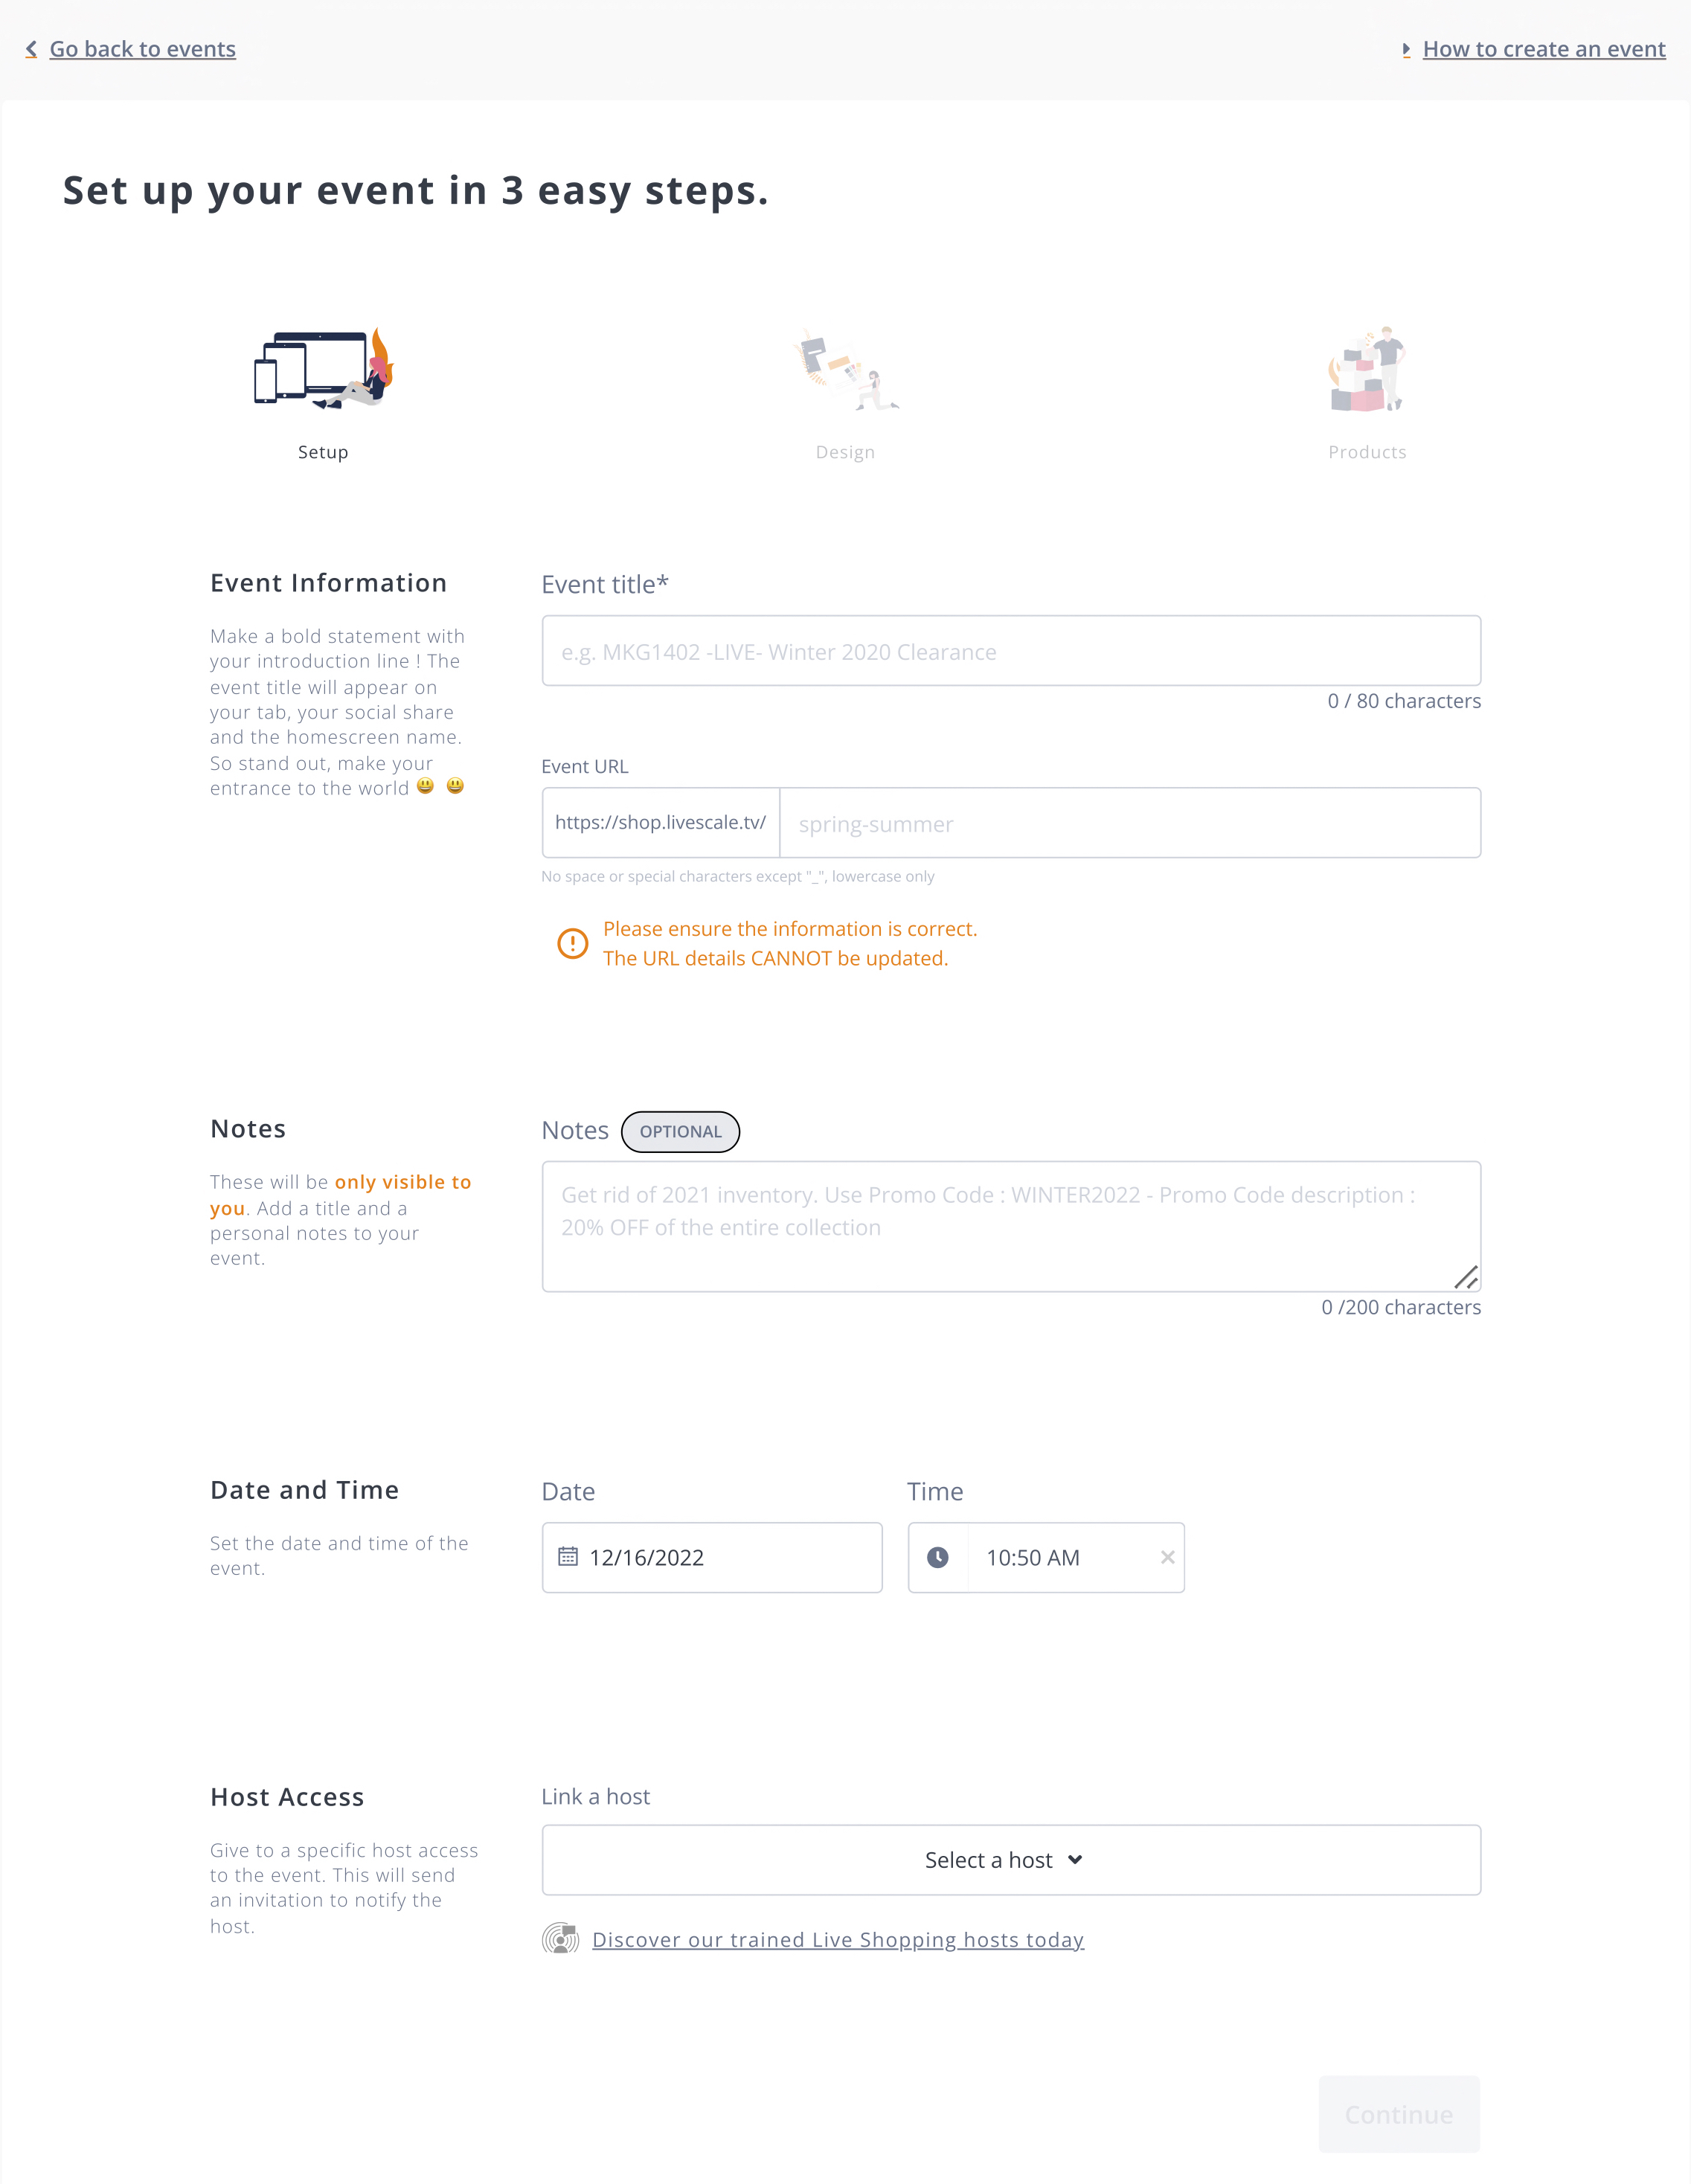
Step 2: Set the Event Title, URL, and Date
- Title: The title of your event, this will also be used on the browser tab, social media posts, and the home screen.
- URL: Choose a short URL slug to describe your event. Note that it may not be modified once the event has been created.
- Notes: You can add personal internal notes here to remind you about important things on the day of the event.
- Date & Time: Set the date & time of your event. For your viewers, the date and time will automatically appear according to their browser's location.
- Host Access: Linking a host will send them a notification inviting them to the event. To give a user host access you need to add or edit their role.
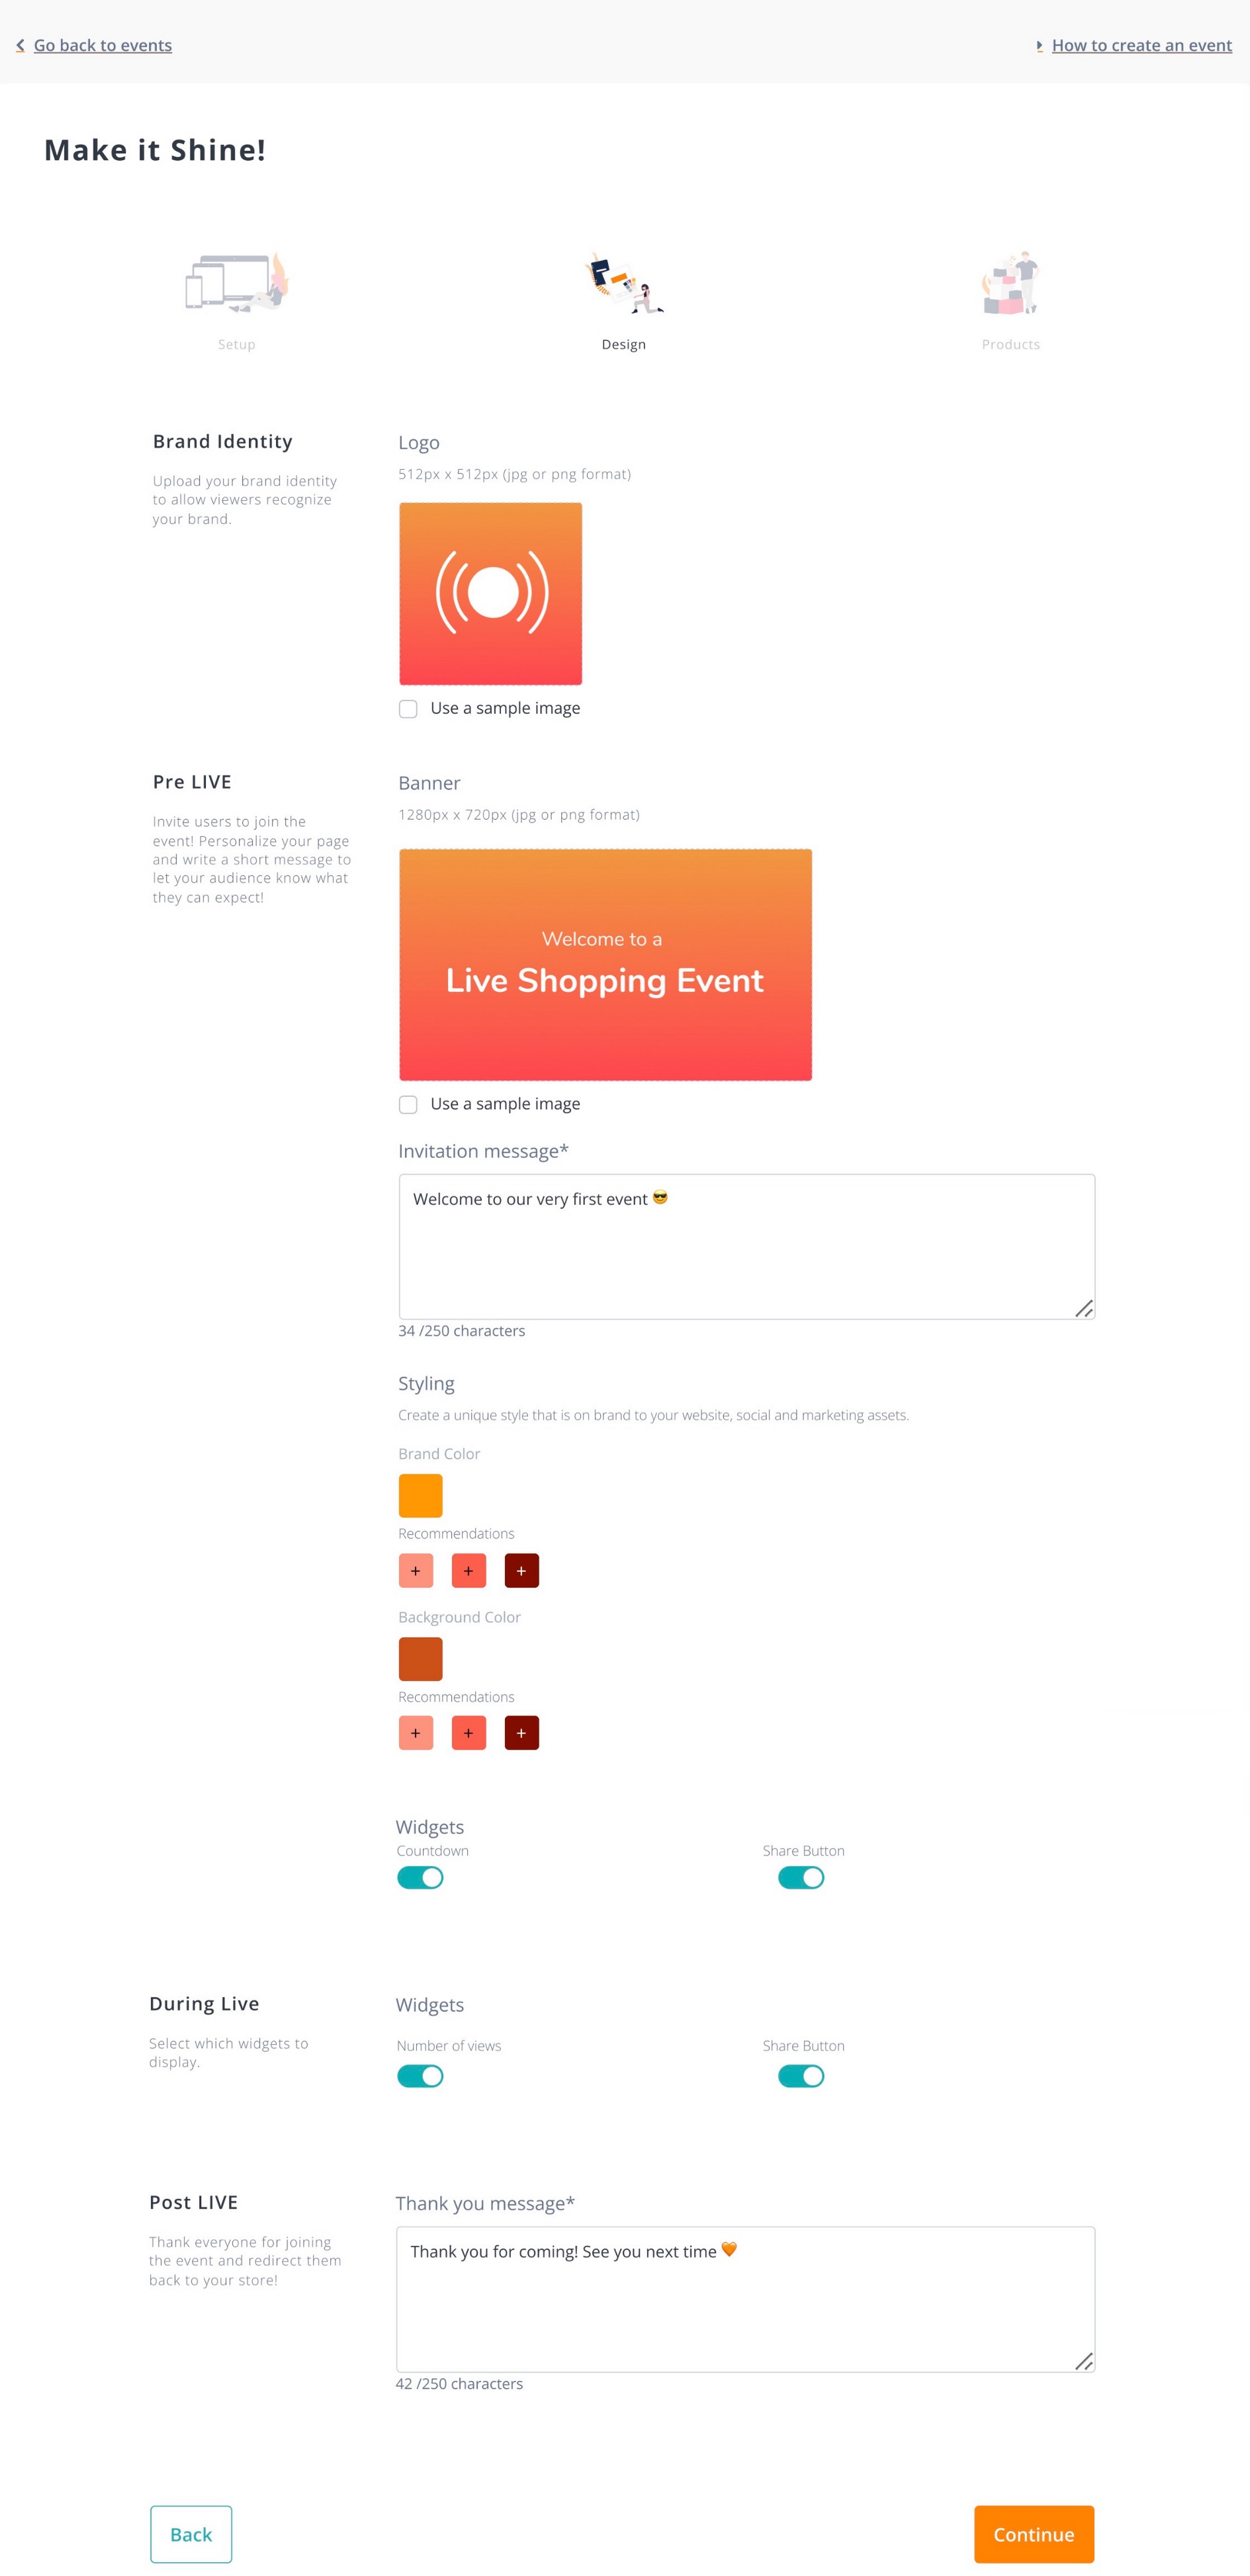
Step 3: Design the Event
- Logo: Choose an icon, ideally your logo to feature as a Favicon. This will be shown in the browser tab.
- Banner: Choose a banner that is bold and represents your brand. This will be shown on the home screen and on social media posts.
- Color Options: Choose the color of your interface.
- Before Event Description: Write a short description of your event for people visiting the landing page prior to the event.
- Thank You Message: Write a message to thank your audience after the live event.
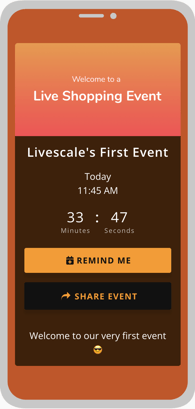
What your viewers will see before the Live Event starts:
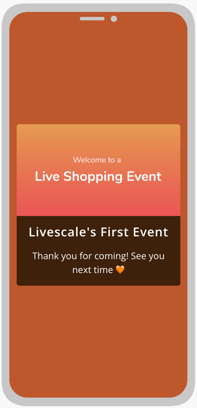
What your viewers will see once the show has ended:
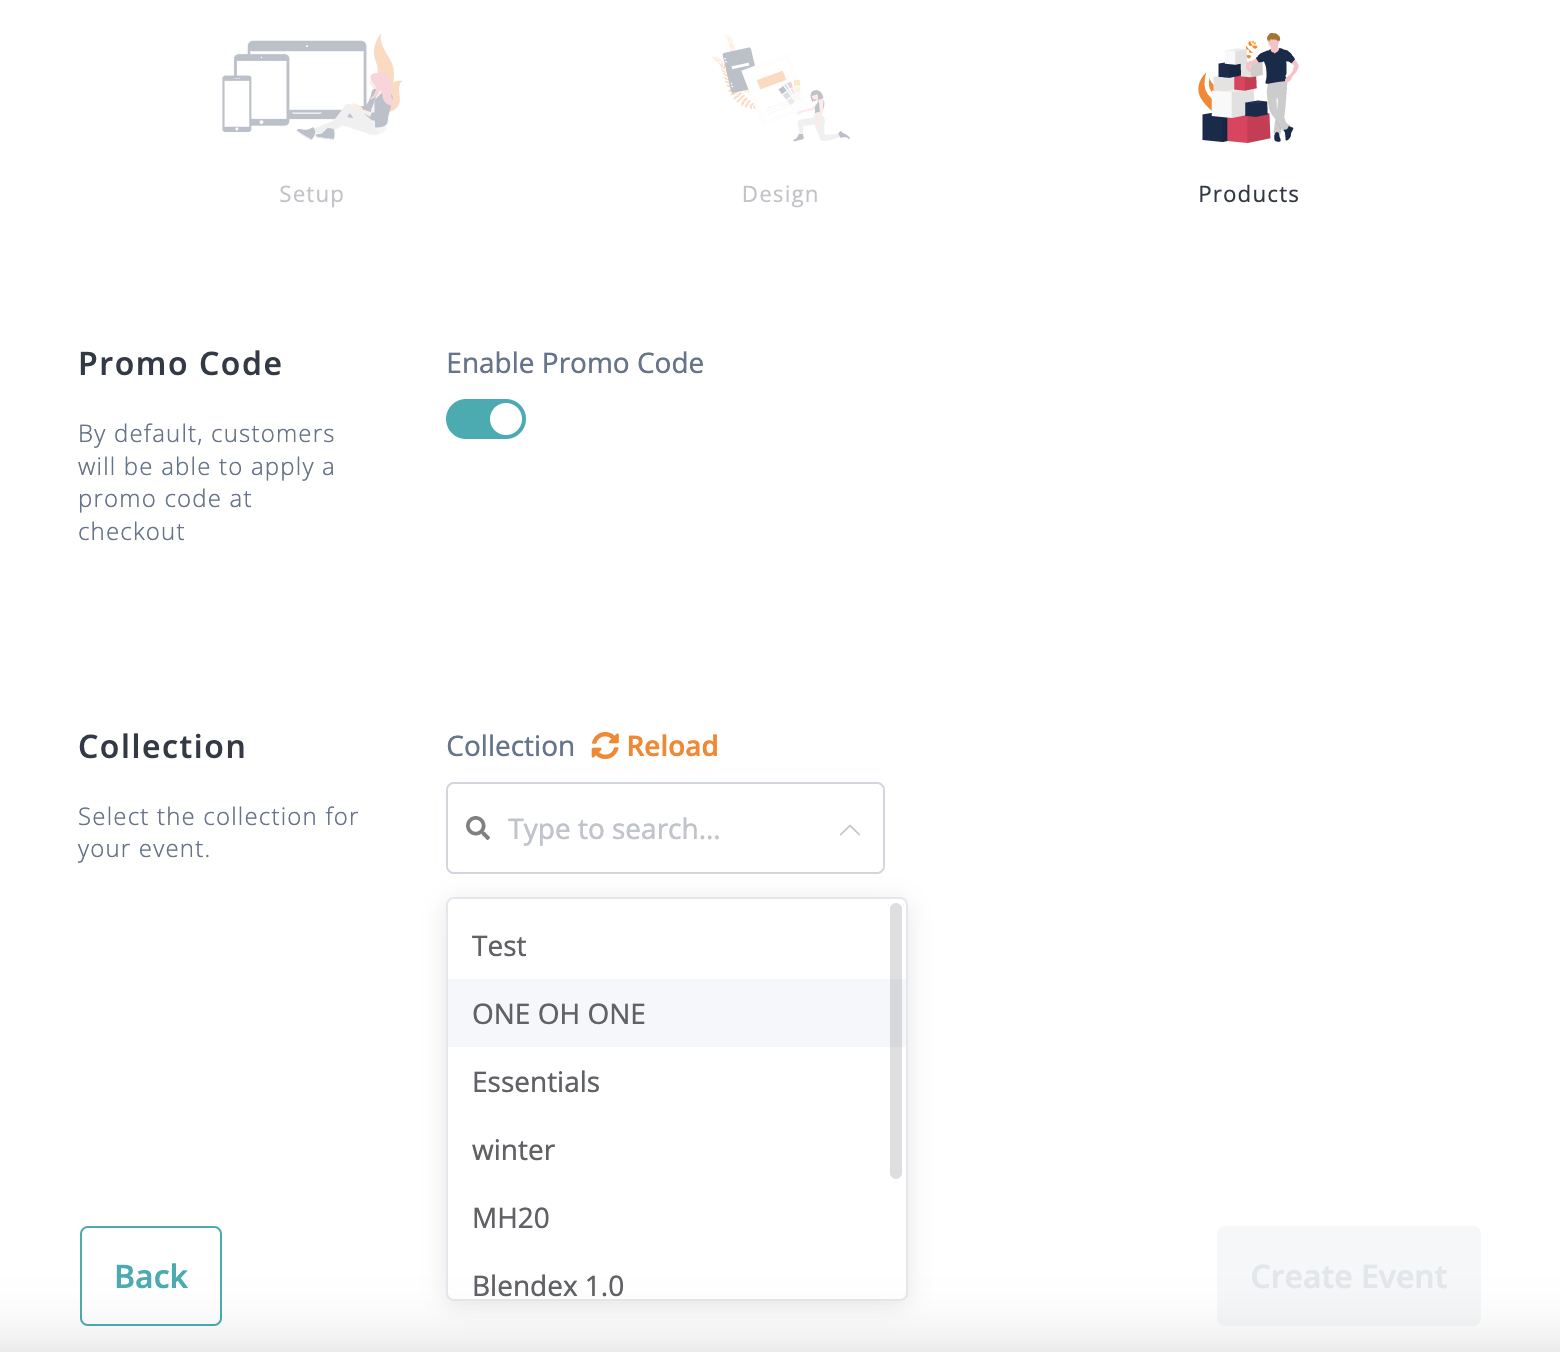
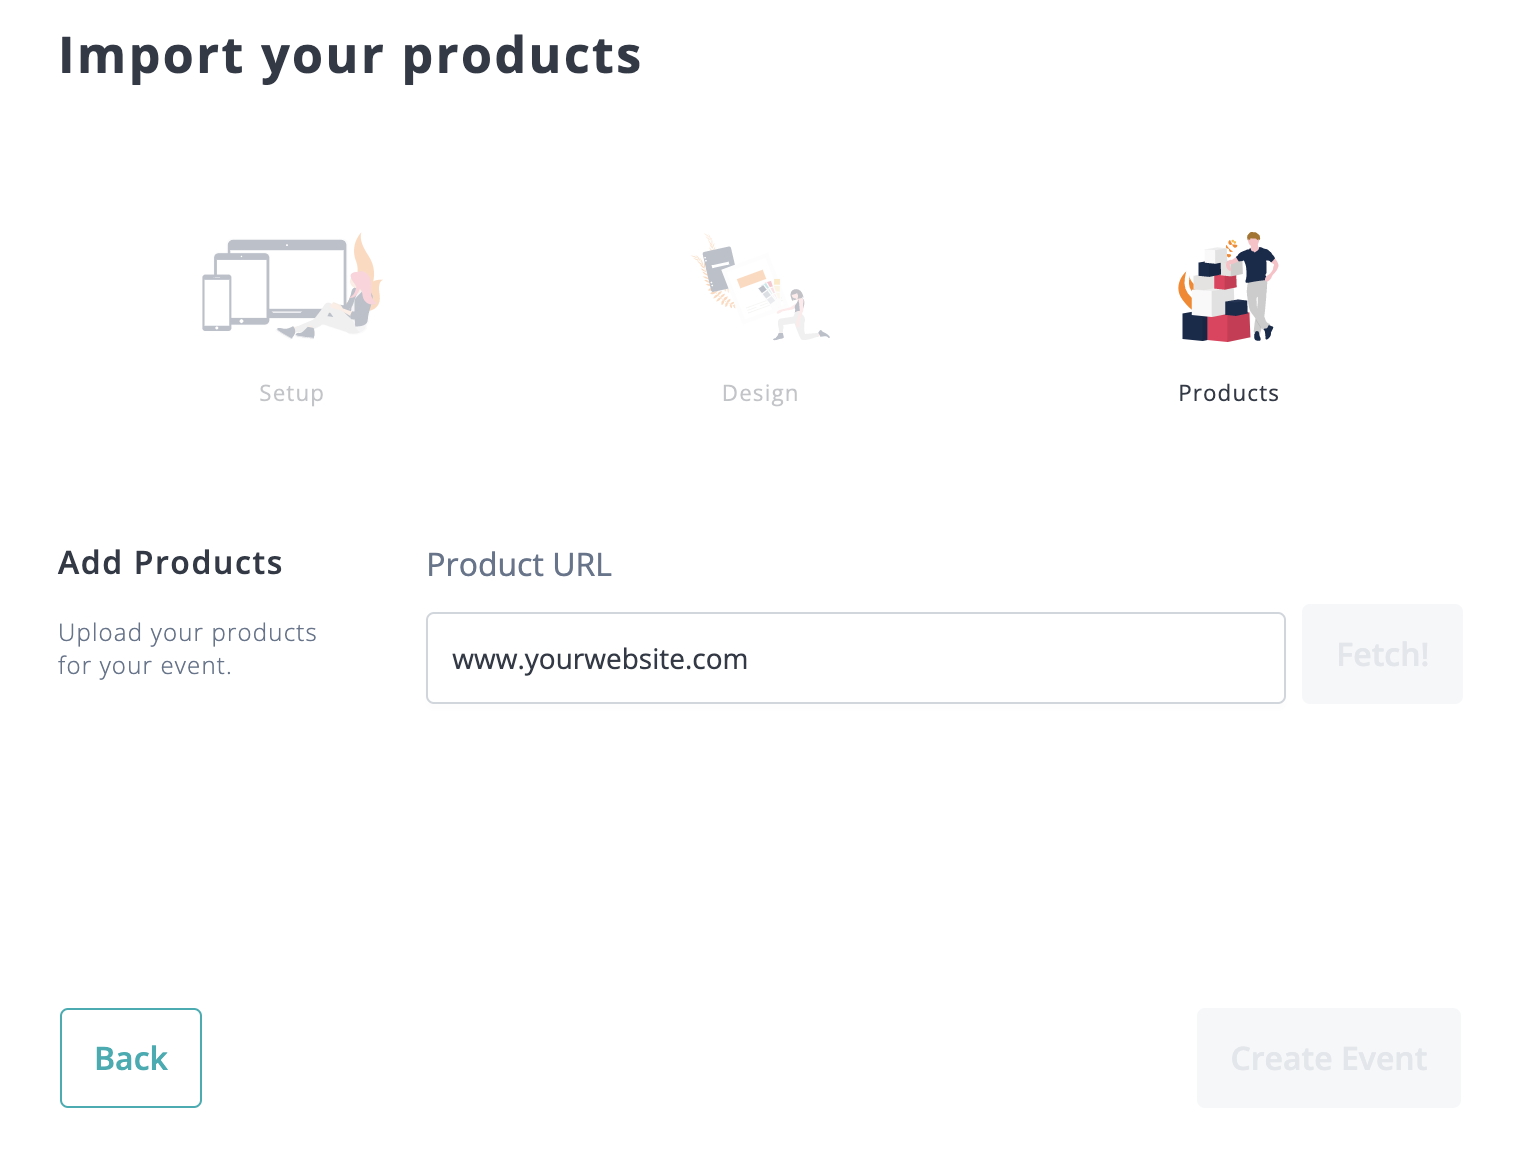
Step 4: Add your Products
For Integrated Checkout with Shopify:
- Select a collection of products to be displayed and sold during your live shopping event.
For Redirected (No Code) Checkout:
- Go to your website, copy and paste the link of the product you wish to add.
Step 5: Event Finalization
- Click on "Create Event" and you're all set!
- You can now go to the Control Room to prepare your video workflow and go live! Before your event, make sure to practice connecting your smartphone or camera of choice to the Livescale platform.